When it comes to hosting everything in the cloud, especially when it comes to websites, you need somewhere to store all your content files with ease. Azure’s solution for handling all your file storage needs is called “Azure Blob Storage." My experience with Blob Storage has been a great one. I have used this to backup databases, deployment files, connect to in order to store website content and several other tasks. Once my “stuff” is in the cloud, it is easily accessible for grabbing the files I need on the go.
Where is the Value?
Now why is this as valuable to me as a developer and to my clients? It’s simple; I can access the files I need from anywhere at any time with an internet connection. This means at 5:00 A.M. on a Saturday when a customer’s website needs to be redeployed, I can reach into my blob storage and grab my deployment files. I can have a customer back up in seconds from any machine. When deploying new code or making changes to a customer’s database, I can have a backup readily available in the cloud. I can revert back to that back-up instead of having to re-upload everything to the cloud which costs crucial time when a live website is down or experiencing issues.
How do I See & Maintain Files?
Azure offers a web interface for looking through your files in blob storage. The interface is good, but sometimes you want a folder structure versus a flat structure. There are many great tools for looking at this, and I am here to show you how. In this first blog, I will show you how to use one of my favorites, “Cloudberry”.
Getting Started
First, you will need to have an Azure account if you do not want to purchase one right away Azure offers a
free trial with the first $200 free to try all the services. Once you have your account, you’ll need to download
Cloudberry. Cloudberry offers a freeware version; this is what we will be using in this guide, but for those interested, they do offer a PRO version. After you have successfully installed Cloudberry and have an Azure account, you’re ready to go!
Getting Connected
- If not already signed into Azure then go to the current Azure managing portal here and sign-in. (Currently they are developing a new portal so this URL may change.)
- Once signed in, you should see something similar to the image below:
- Once this screen has loaded go down the list and click on “Storage.”
- When on “Storage” go to the bottom left and click “New”.
- After clicking “New” a dialog similar to the one below should display. Make sure to select the same options that I have below in order to create your Blob Storage correctly.
Note: Depending on your needs and what you intend to do, what you can change in your Location Group, and Replication will vary.
- Once you’re happy with the settings and name click on the check mark next to “Create Storage Account” to begin the creation.
- When the process has started, you will see a progress indication at the bottom that you can watch. After it’s completed, it will let you know and give you a check mark again to get rid of the message.
In Progress
Completed
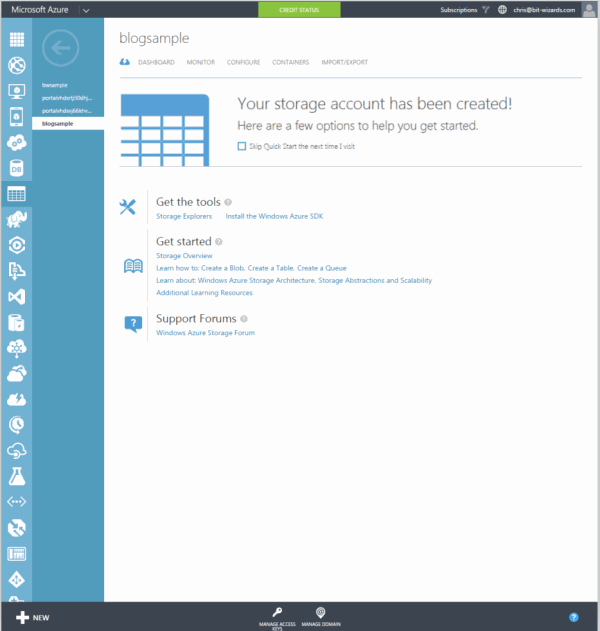
- Now that your storage is created it will display in the list of storages and can be selected. Once selected, you can see the various options Azure offers to maintain the storage.
Connecting Cloudberry to Your Storage Account
- From here, you can work with two storage types; whether it be your machine storage or another cloud storage account. From the drop down lists, you can choose where to look.
- To add new storage to your connections go to: File > Azure Blob Storage.
- On the next dialog select “Add” on the right-hand side; this will pop up a new window allowing you to add in your Storage connection settings.
- Now that we have this dialog open, go back to your Azure Storage account dashboard that you want to connect. When you get to the dashboard, on the bottom bar click on the “Manage Access Keys” (it will have a key symbol).
- When opened you should see something similar to what’s below.
- This information will now be used to connect through Cloudberry. Put the corresponding information in the corresponding fields in your Cloudberry dialog:
- Display name {Whatever you want the name to appear in your list}
- Account: {Azure Storage Account Name}
- Shared Key: {Azure Primary Access Key}
- Now that the connection information has been entered, you can “Test Connection” to verify and click “OK” to close.
- You're done!
Now that you are connected, you can manage and access the files in your storage account. This set-up will allow you to upload or download files between accounts; whether it’s blob storage accounts or your local machine and blob storage. Go be productive!