Welcome to the Future
Here’s a scenario for you; you want to quickly set up a server to serve a website to the world, possibly multiple websites for all the different aspects of your organization. WordPress seems like a good option, since it’s a very popular publishing platform with lots of custom themes available. In fact, over a fourth of the web now runs on WordPress’ open source CMS; that’s over 60,000,000 websites. Count the zeroes! Not bad for a free software project started between two friends, based on a previously abandoned open source blogging project. And the whole thing is built using the PHP programming language with a MySQL database to hold all the content… both of which are
also free and open source!
So back to our scenario; what’s the best way to deploy this WordPress software? Well, you could shop around and find some online services that will charge you hefty a monthly fee to host a WordPress site for you. “But wait,” I hear you say, “didn’t you just say WordPress is free? Why do I have to pay someone for this?” Well yes, WordPress is free, you can freely view (and contribute to!) the source code, so it would be pretty tough to sell a secret formula that’s you can get for free at the public library. But it does have to run on a server and have a good, fast pipe to the internet for all your visitors eagerly awaiting your new website. Fortunately, WordPress runs great on Apache, a free and open source webserver application, which was built to run on Linux, a free and open source operating system. Whew! That’s a lot of free and open source software designed to give you stable platform to build a great looking website. Now all you need to do is put together a server, install your favorite flavor of Linux, install and configure the full LAMP stack (Linux, Apache, MySQL and PHP), then you can download and install the latest version of WordPress, get yourself a static IP address on a fast internet connection and you’re good to go!
Does that seem like too much work? Well… you could have set up a fully-functioning, already-configured WordPress site, sitting on a rock solid Linux server, with a blazingly fast internet connection in less time than it took you to read this far into the blog post. That’s the wonder of Microsoft Azure! You can stand up a server in
literally minutes, already preconfigured with everything you need. And the great thing about Azure is that you only pay for what you use. Since all the software we’ve mentioned here is licensed for free, the only thing you’re paying for is the hardware to run it on, and the bandwidth to serve it with. And here’s the crazy part… you can change the hardware specs of your server
on the fly! Need to double the RAM? Just change a setting. Don’t need all that CPU horsepower? Change a setting. And Azure quietly makes the change for you in the background. It’s pretty awesome, and once you get used to it, you’ll be spoiled for anything else. Oh, and the price to run your very own server? As little as $13.39 a month. Sheer madness, I tell you! Let me walk you through setting up your own Linux server on Azure.
Get Your Head in the Cloud
Microsoft are so confident that Azure is the right solution for you, they’ll give you $200 worth of services to play with for free to try out the service. It’s super simple to sign up, just go to
http://aka.ms/tryazure and get your account started for free. And you don’t have to limit yourself to just setting up Linux virtual machines; there is SO much more you can do in Azure.
Once you’ve got your account set up, you can go to
https://portal.azure.com/ and log in. The dashboard will show you any existing resources you’re using in Azure. Click on
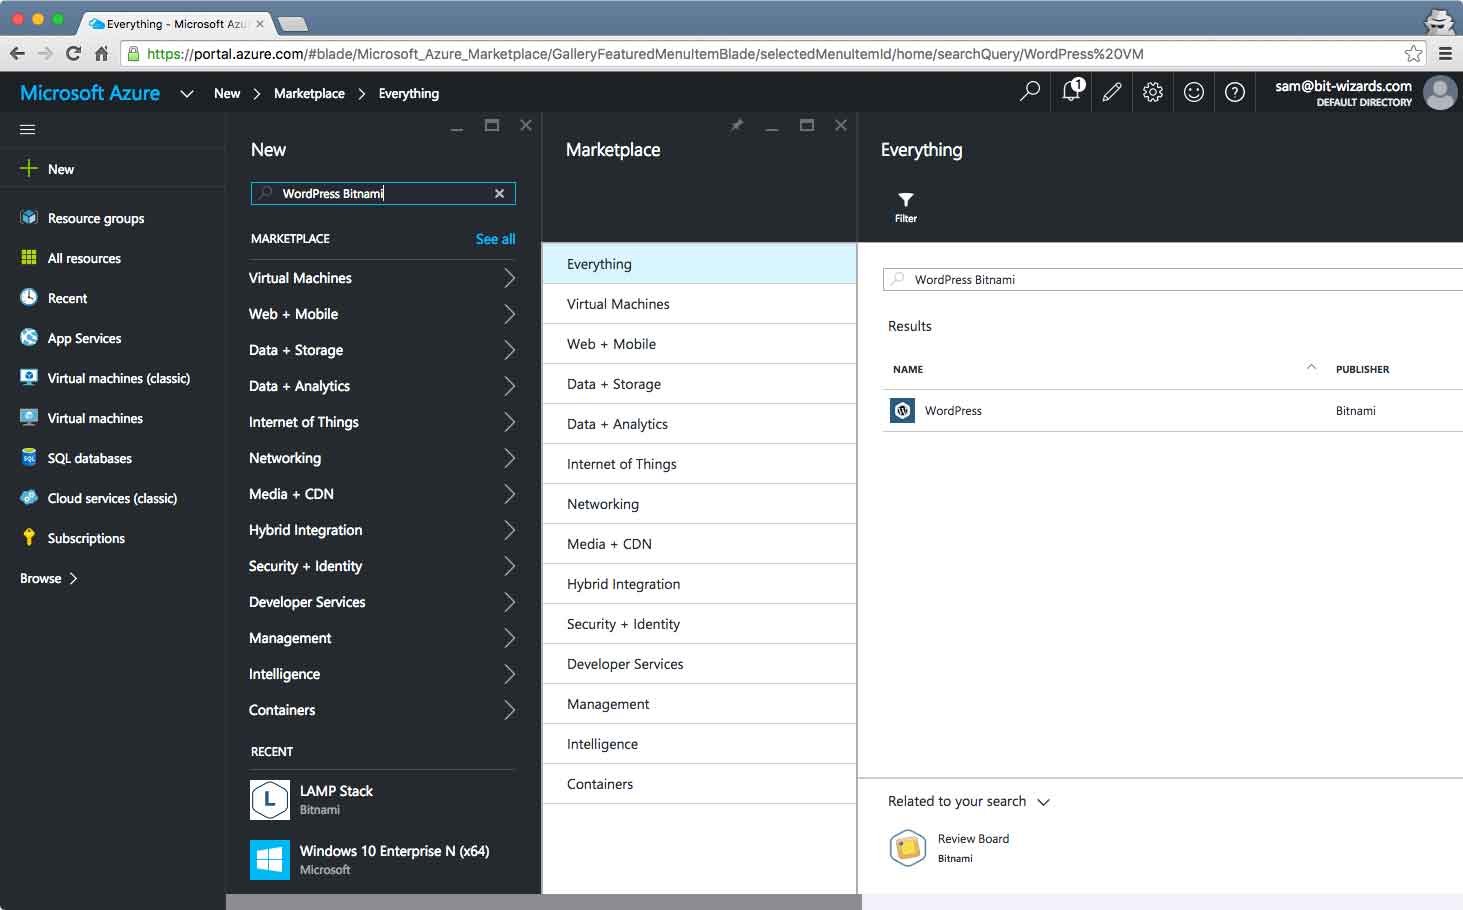
New at the top left of your screen. As you’ll see you have a lot of options, but the easiest thing for us is to simply sift through everything by searching for a Linux VM (virtual machine) image. Technically, we
could install a clean Linux server; Ubuntu, Red Hat Enterprise, OpenSuse, etc. and then install all the software we need, but Azure makes it even easier for us than that! Just type in “
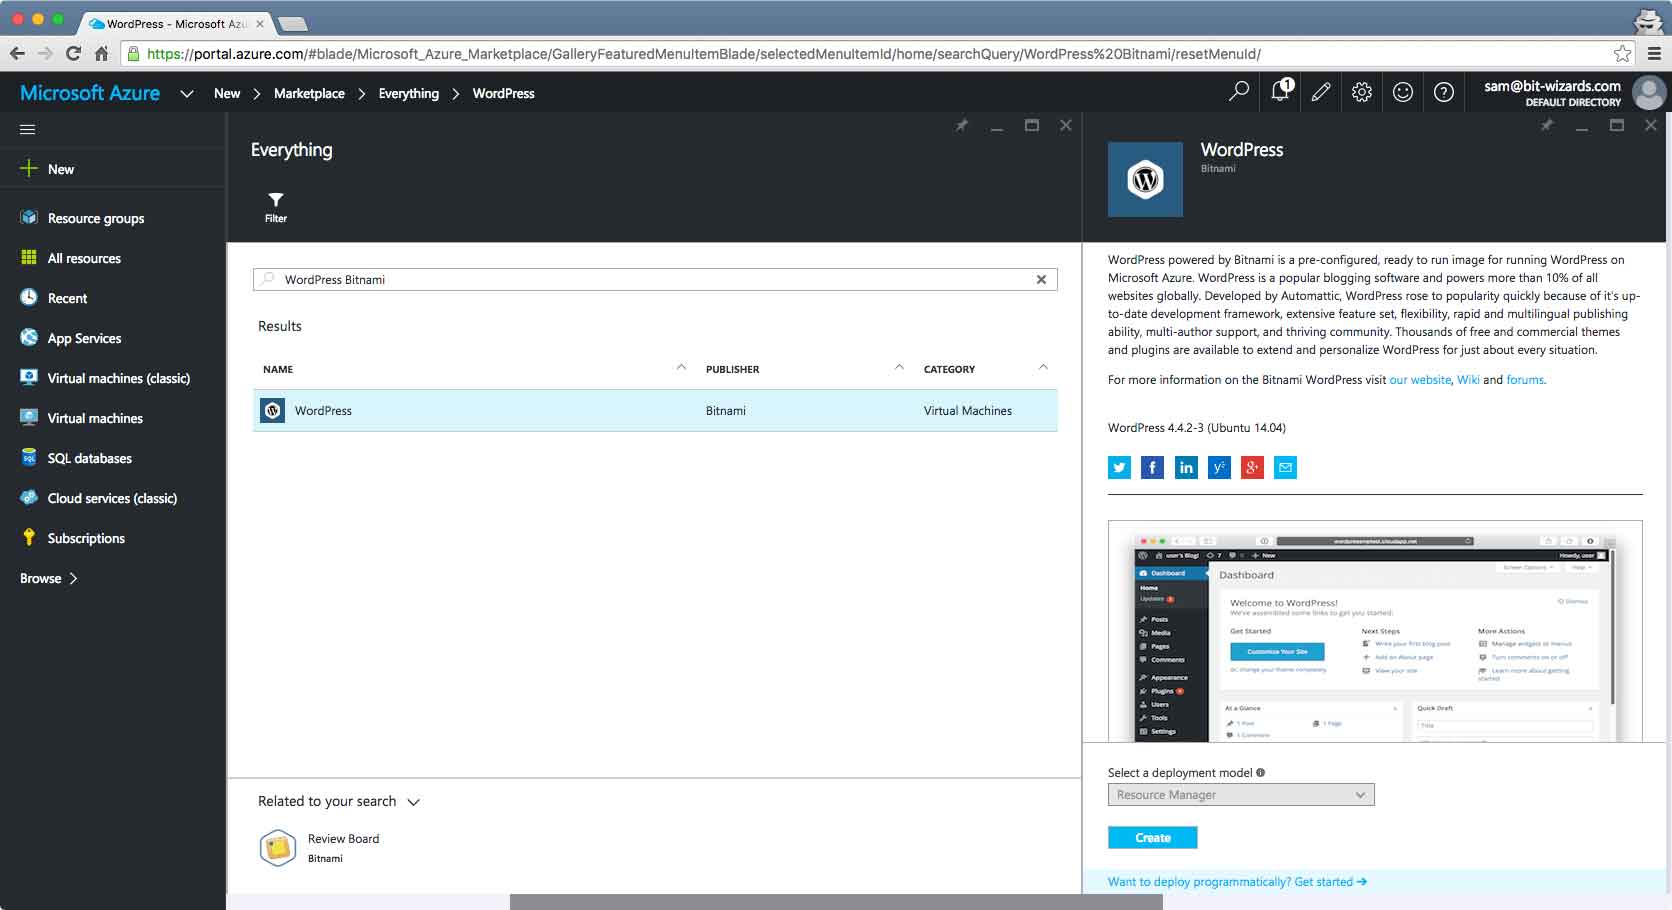
WordPress Bitnami” in the search box at the top of the list. The only option you’ll see is
WordPress by Bitnami, running on Ubuntu. Select this, and then click on the
Create button.
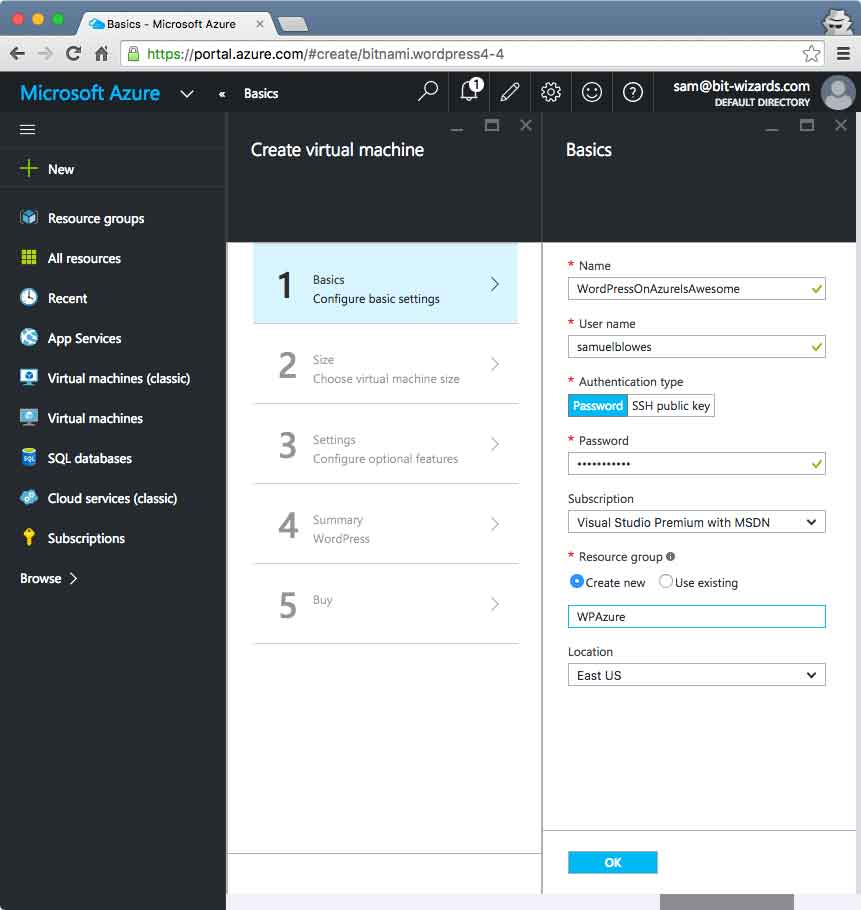
Give your new Linux server a name (it has to be unique, so you may need to try some different options). Pick and username and password (don’t forget these!) and make sure “
Create new” is selected under Resource group. Give your resource group a name, then pick a location near you and click
OK.
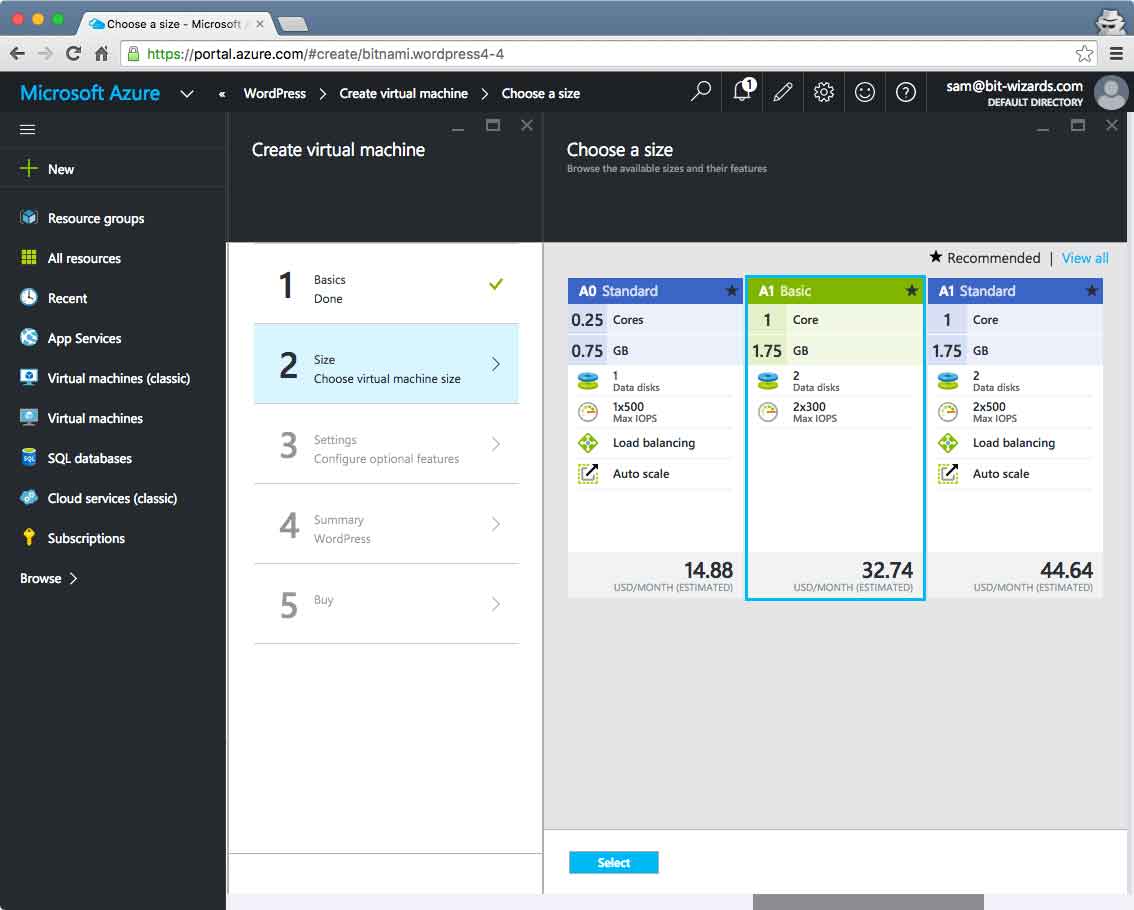
Now you’ll pick out the configuration of your new server. The price varies based on the CPU cores, RAM, etc. and of course, the more you spend, the faster the machine. But for our purposes here I selected an “
A1 Basic” configuration, which will be plenty fast enough for what we need. Select the configuration you want and then click
OK.
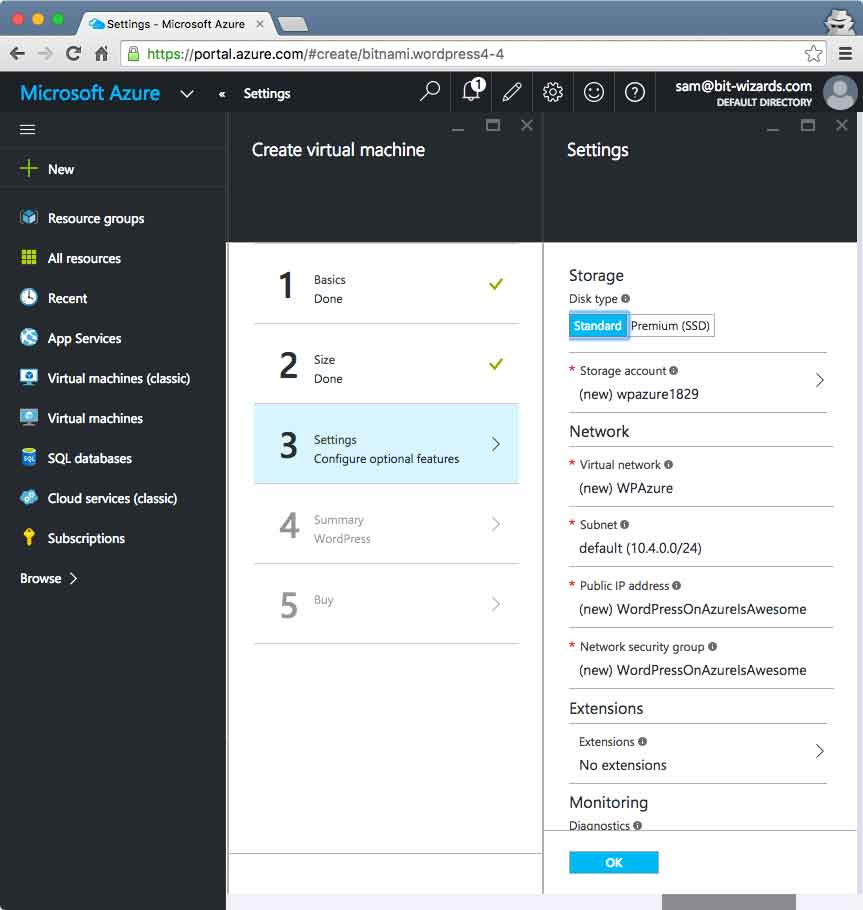
The next screen simply shows us our storage configuration options. You can choose to configure SSDs, but I’m keeping the preset configuration. Click
OK to move to the summary screen.
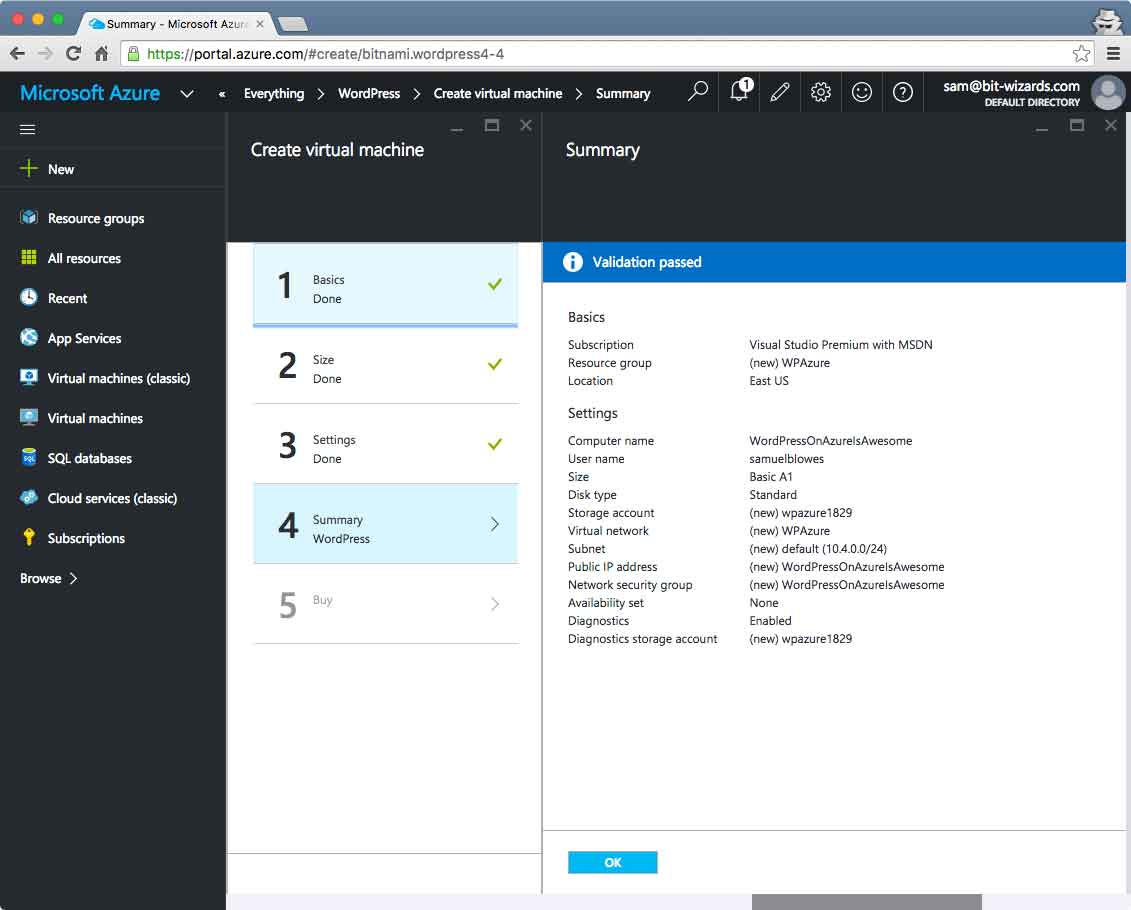
This summary screen gives you an overview of what you’ve configured. You can click “
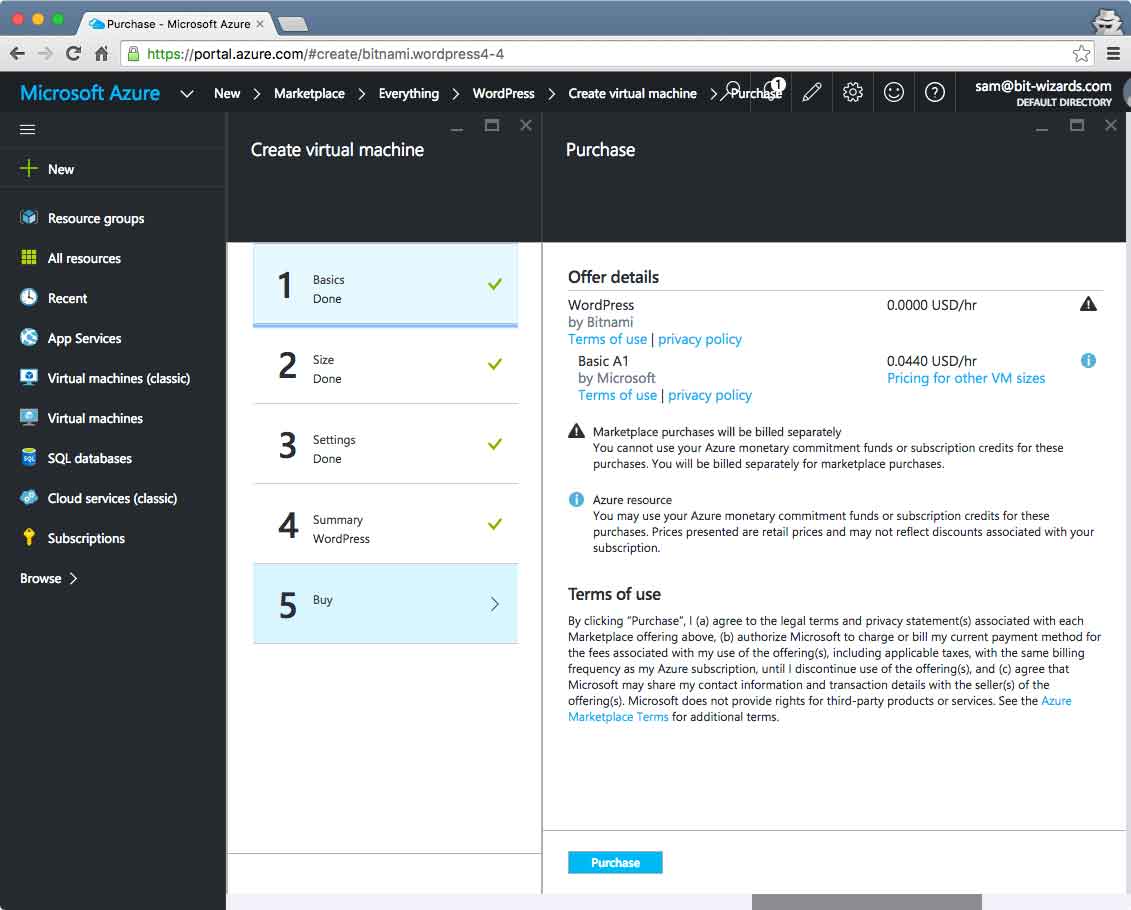
OK” to get to the purchase screen, that will show you the cost breakdown. Click “
Purchase” to stand up your new Linux/Apache/MySQL/PHP server.
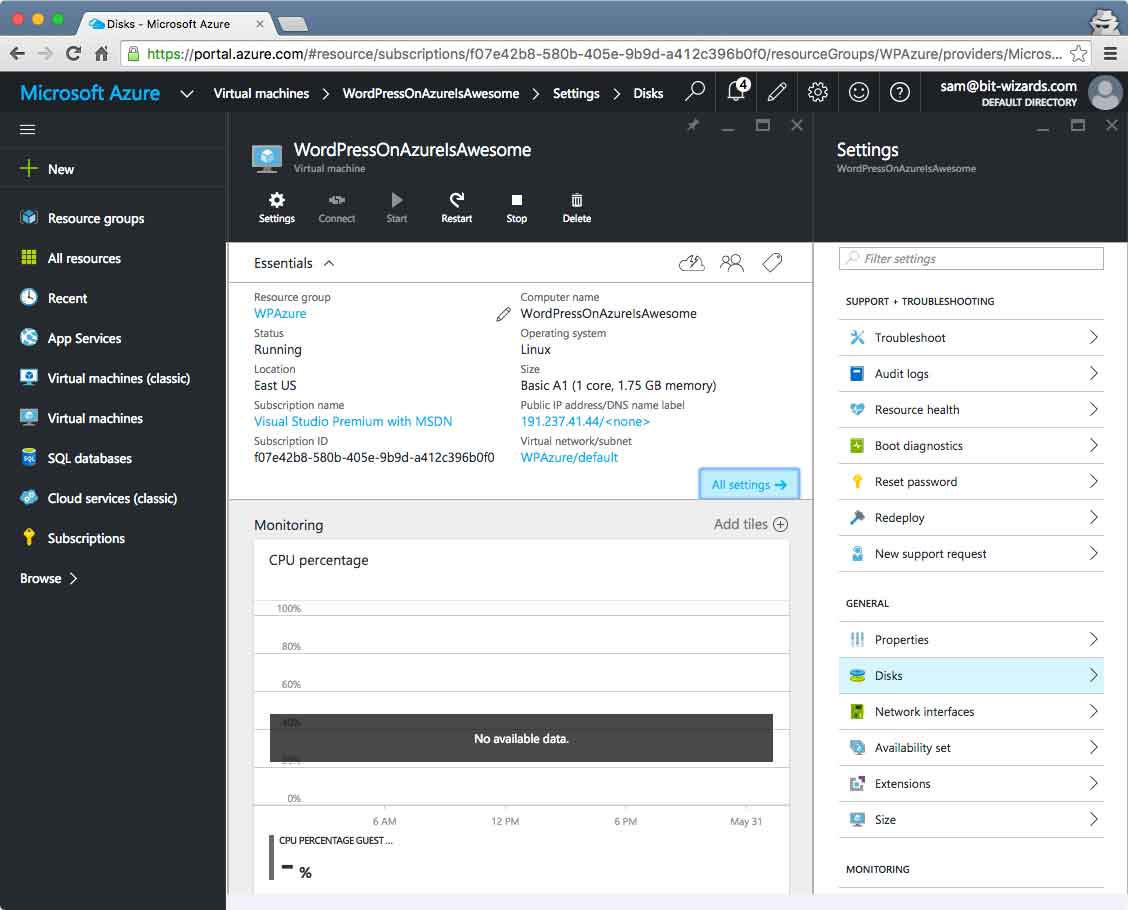
If you click on
Virtual Machines on the left, you’ll see your WordPress server running. Click on it to show you all the information pertaining to that server. The most important info on this screen is your shiny new IP address. Now for the fun part: Copy the IP address and paste into a new tab in your browser.
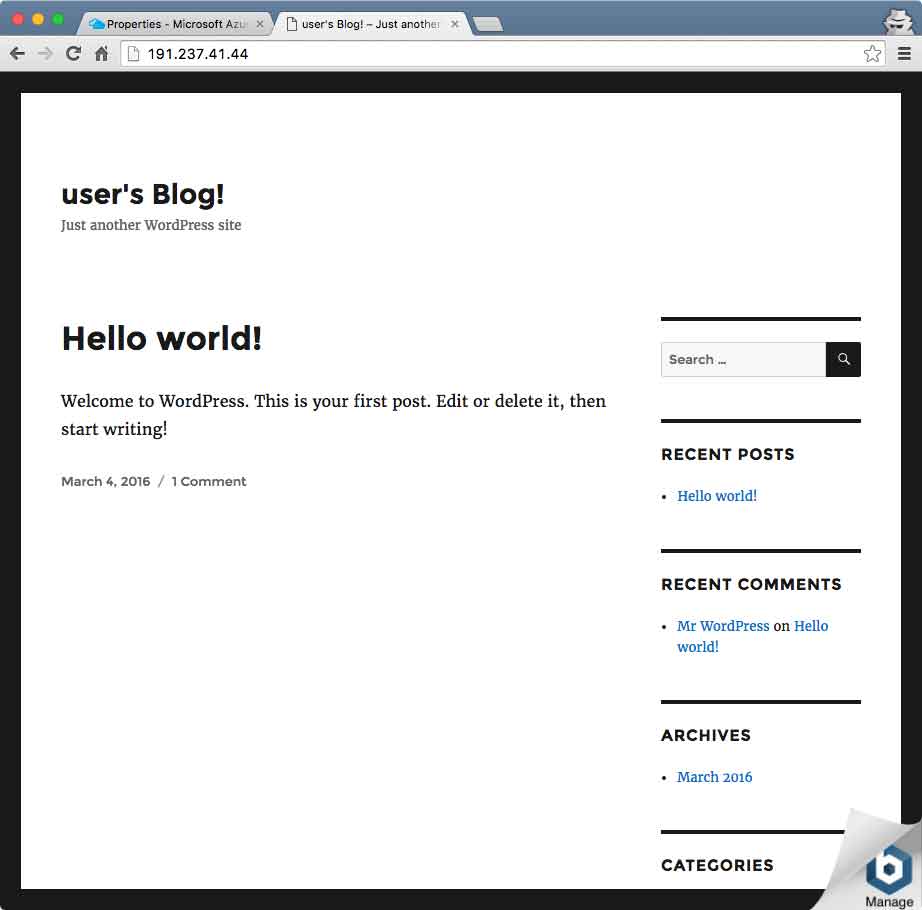
Voila! Just like that, you’ve got yourself a running WordPress server. Consider yourself an Open Source pro!
Next Steps
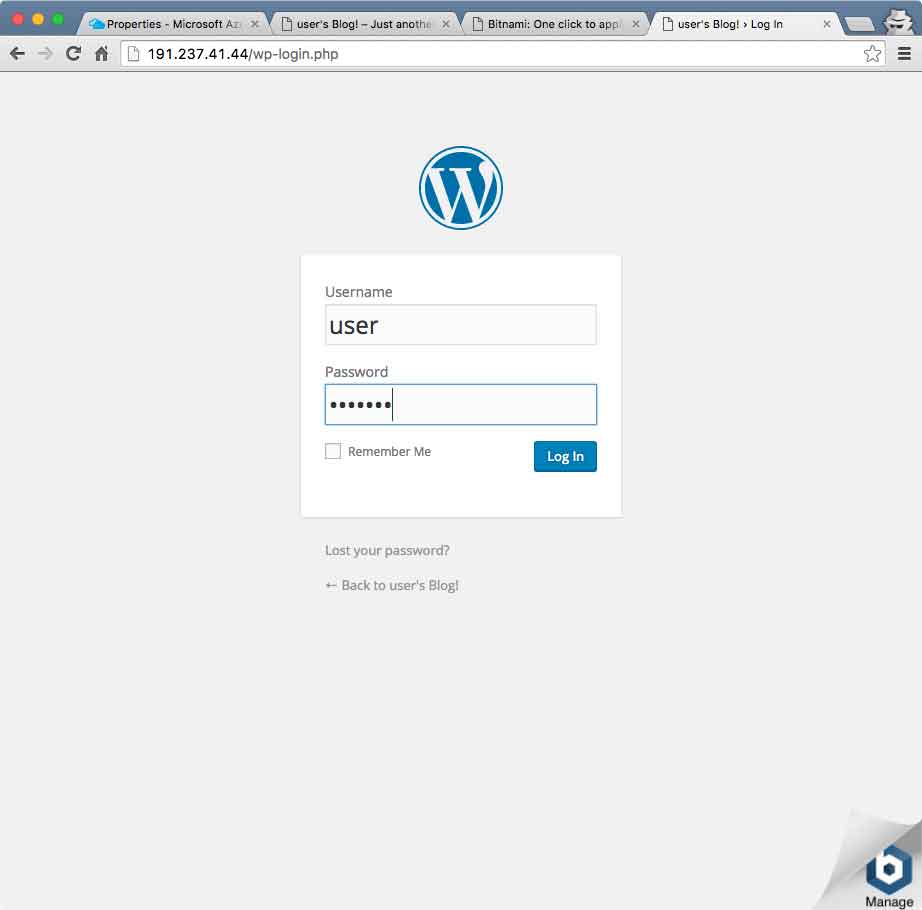
If you click on the blue “
Manage” icon hiding in the bottom right corner, it will give you instructions to login to the admin panel of your WordPress Site. Congratulations… world’s fastest Linux server set up!
There’ll be SSH to Pay
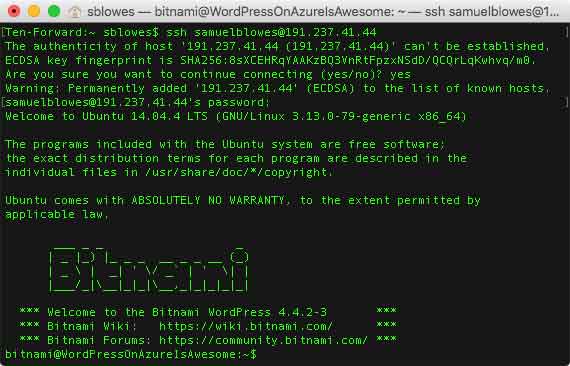
Your new server is more than just a WordPress site. It’s a fully functioning Linux machine. Remember that username and password you entered earlier? You can use that—with your new IP address—to remotely log into the server from the command line. On a Mac or Linux computer, you can open the Terminal. In Windows, you can use the Putty app
or… you can
use Bash in Windows 10 (coming this summer!) Simply type in
ssh followed by your
username @
your IP address. Confirm that it’s safe to connect, then type in your password. Presto! You’re logged in to your remote server. If you want to know what to do next, you’ll have to stay tuned to my on-going series about how much Microsoft Loves Linux.
Needless to say, you need to start incorporating the Cloud into your business. So if you need some help, just let us sweat the details so you don’t have to! Bit-Wizards is a Microsoft Gold Partner, and we
love all things Azure!